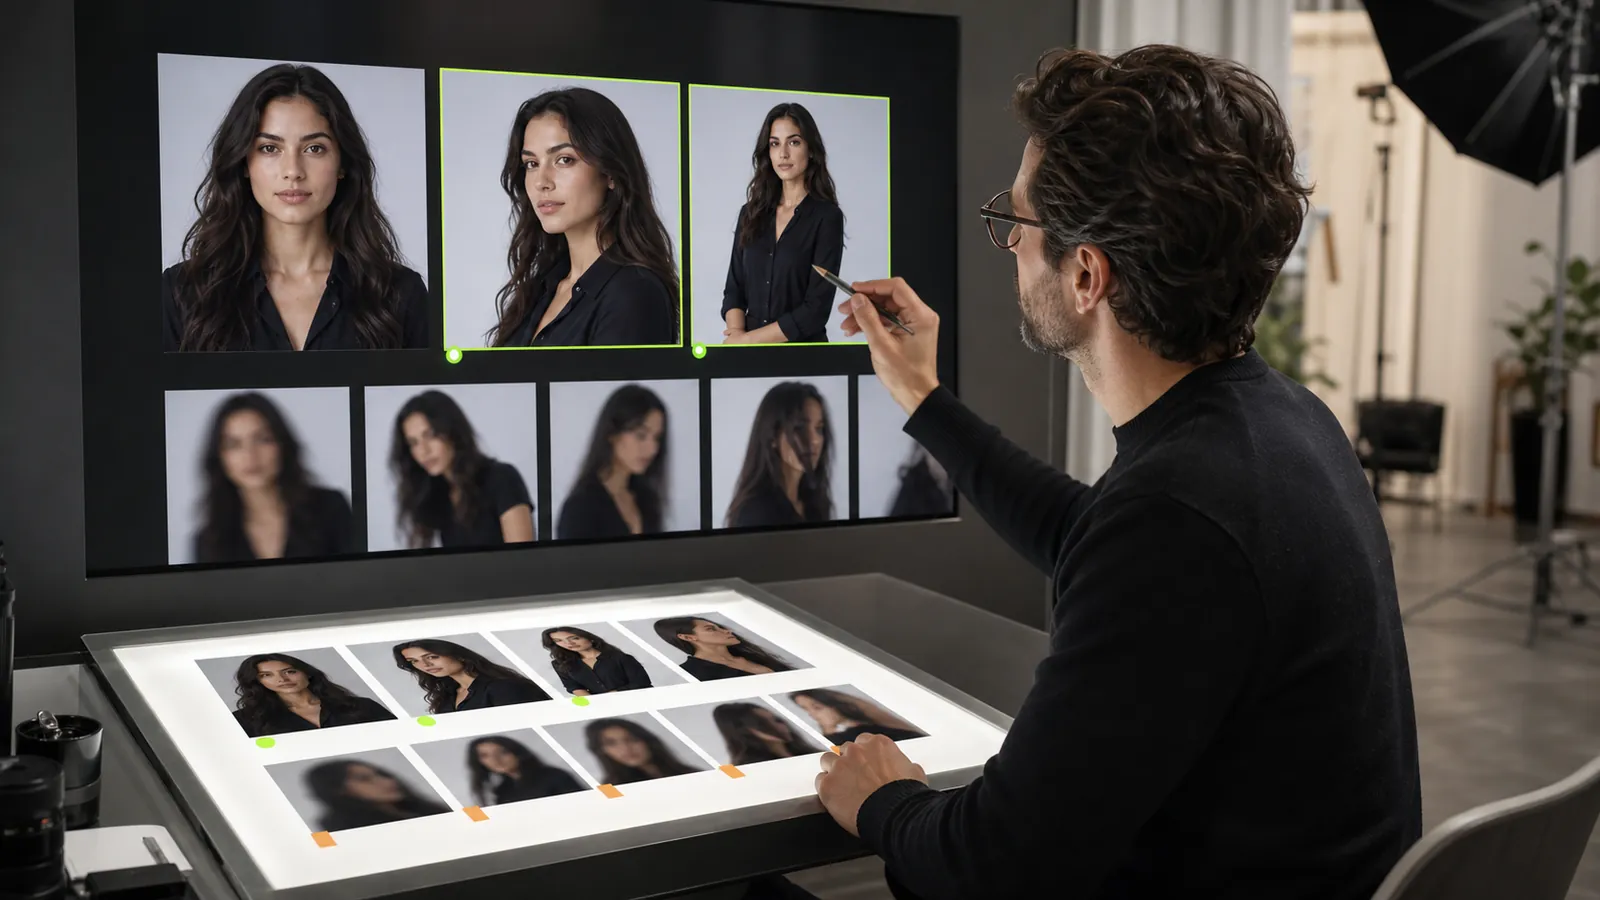
An AI video avatar is a digital presenter or character animated for a video. The useful starting question is what the avatar needs to do: speak to camera, appear in a moving scene, or become an interactive character inside an application. Those outputs require different tools and different checks.
For a first creator video, keep the brief narrow. Choose one approved identity, one short message, one camera setup, and one destination. Finish that complete production loop before committing to a large batch.
Choose the right kind of avatar
| Intended result | Starting material | Main review task |
|---|---|---|
| A speaking presenter | A permitted portrait or approved avatar, plus a script and voice | Pronunciation, lip movement, and message accuracy |
| A character in a moving scene | An approved still image and a motion brief | Face continuity, anatomy, and movement |
| A character inside an app or game | A compatible 3D asset and an integration plan | Rigging, animation, and runtime compatibility |
A video file does not become an interactive avatar because the character looks realistic. Likewise, a rigged 3D character still needs animation and rendering before it becomes a finished social clip. Define the deliverable before comparing demonstrations.
Prepare a reference you can actually evaluate
Start with a reference you own or have permission to use. Choose a clear face with useful detail, a readable expression, and enough space for the intended crop. Heavy filters, obscured eyes, and extreme lighting make it harder to judge whether the resulting character remains recognizable.
Write down the visual traits that should stay stable: facial proportions, hairstyle, approximate age presentation, and distinctive details. Keep wardrobe and setting separate from those identity notes. That makes it possible to change the scene without accidentally accepting a different character.
The reference-image selection guide provides a more detailed starting checklist. For a talking avatar, also listen to the voice source and confirm that its intended use is permitted; permission to use a photo does not by itself document permission to reproduce a voice.
Build the first clip in five steps
- Write the message. Use a short script with one point and a clear ending. Read it aloud and remove phrases that are difficult to say naturally.
- Approve the still. Check the face, hands, wardrobe, and background before introducing motion. Animation should start from an image you would already accept.
- Choose movement or speech. Describe one modest action for an image-to-video shot. For a presenter, prepare the approved script and voice instead of expecting a motion prompt to produce accurate dialogue.
- Generate a short draft. Save the source, settings, and result together. Change one input at a time when diagnosing a problem.
- Edit for the destination. Add reviewed captions, choose the crop, adjust audio levels, and inspect the exported file at its actual viewing size.
A restrained first test is easier to troubleshoot than a long clip with multiple camera moves. If the face changes during a turn, reduce the turn or try a better source angle before increasing the duration.
Where Fanerse fits
Fanerse Studio supports reference-guided image creation and eligible video workflows. You can develop a creator image, review it, and use an available video option for the next step. Video requires an eligible plan; check the controls and credit cost shown in your account before generating.
Treat image-to-video and talking-video as separate production choices. The former adds motion to a selected scene; the latter is appropriate when speech is part of the brief. Neither removes the need to watch the finished result.
For a scene-based example, follow the image-to-AI-influencer-video workflow. External social publishing is a separate step: export the approved asset and use your destination's publishing tools.
Review the entire video, including the last frame
Check the opening, middle, and ending against the reference, then watch the clip continuously. A good opening thumbnail can hide changes that appear only during movement.
- Identity: Does the face stay recognizable as the head turns?
- Motion: Do hands, teeth, jewelry, and clothing behave plausibly?
- Speech: Are names, pauses, pronunciation, and lip movements acceptable?
- Message: Do captions and spoken words agree, and are any factual claims supported?
- Delivery: Is text readable after cropping, and does the audio remain clear on a phone?
If a shot fails on identity or message, fix that before upscaling. A larger file can make a flawed shot more visible without making it more usable.
Measure a finished clip, not a successful render
Track all drafts, revision time, credits consumed, and approved exports. Divide total production effort by the number of clips that actually pass review. Keep the rejected examples: they show which poses, scripts, or reference choices cause repeated problems.
Use a simple handoff record containing the reference version, approved script, final filename, reviewer, and publication destination. Include the AI disclosure appropriate to the piece and the destination's current requirements. An exported file is ready for posting only when that record and the media agree.
Start with one repeatable clip in Fanerse Studio. Once you can reproduce an acceptable result, expand the range of scenes or scripts gradually.